Essential Steps for Designing Your Own Unique Iron-On Patches
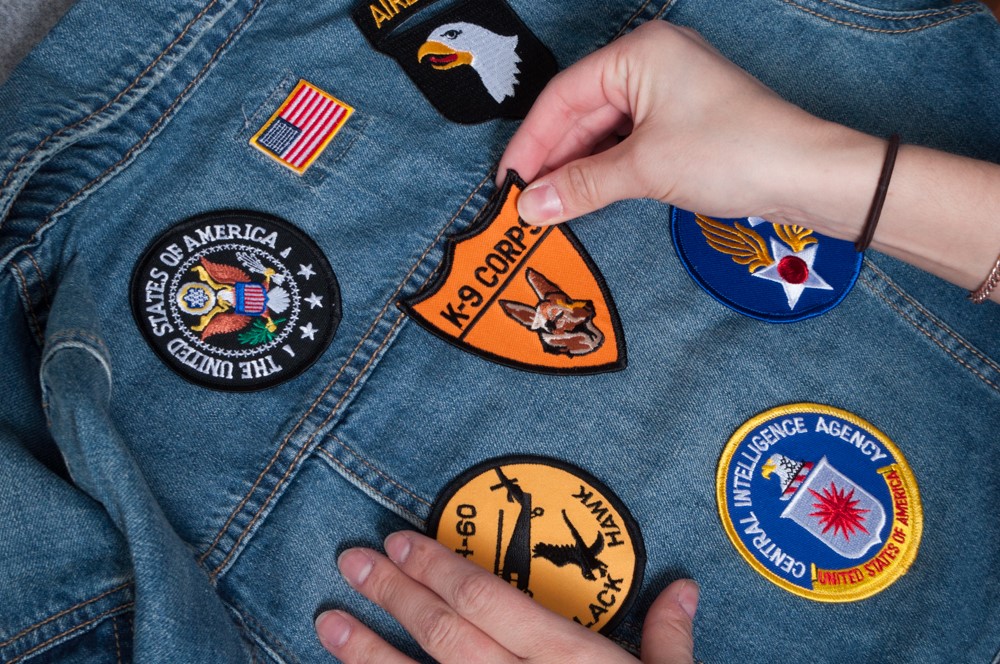
If you are thinking of designing custom patch for your upcoming products, your choice is excellent. Custom patches are always in trend be it any part of the century. Their versatile feature allows them to be used on clothing, bags, hats, and any attire you want to give a unique touch of fun and flair.
The customization process becomes more interesting if you design the motif with your personal touch, portraying your brand’s objective. In this blog, we will explore the journey of designing a perfect patch that resonates with your audience.
Designing High-Quality Iron-On Patches
Materials You Will Need
To design your patch, you will need the following items:
- An iron
- The fabric according to choice
- Thread and needle for embroidery
- Embroidery hoop
- Transfer sheet
- A pen and cutter machine
Craft your artwork
Designing is the first and most important step when creating custom patches. Shortlist your reason to make your patch. Whether you are designing it for your club, organization, or just for fun, search for design inspirations like logos, letterheads, emojis, and emblems to begin.
If you are facing difficulty in designing the art piece and think that the designing process is difficult, you can take help from embroidered patches NZ or Iron-on patches designers. They will help you in getting your ideas into reality.
Customize your patch
There are three ways you can use to design your patch. Choose one that best suits your skills with available supplies.
- Designing using hands
If you are embroidering it by hand, you need to choose your design. Make sure that you choose one that is easy to manage with not too much intricacy. Select your threads and fabric. Choose a color that contrasts well with your patch and is visible when stitched. Trace your design using a pen with fine tip. Get the design onto moderate-weight cotton fabric. When you copy the design, ensure it is clear and visible for an accurate stitching process.
With all this, now it is time to place your fabric inside the embroidery hoop. The outer hoop will go on top and the inner one underneath the fabric. Tightly screw the fabric to keep it in place. Using a thread and needle, begin the stitching process. Once the stitching is over, loosen the hoop and remove it carefully. With the help of fabric scissors, trim out the patch. Leave some boarder around the edges to give it a clean look.
Place the finished patch on the sticky sheet. Cut the sheet matching your patch size and shape. In the end, use an iron to activate the adhesive on the back of your patch. Make sure that you attach it securely to your garment.
- Use a sewing machine
You can use a sewing machine to effectively create your custom patch in no time or hire services like iron-on patches NZ or customized patch designers NZ. They will help you. You can sew your patch using the right tools and techniques, adding a personal touch to your attire. The process is almost the same. You need to pick up a patch design that matches your style. Choose a thick fabric for high-quality results.
Trace the chosen design on the selected fabric. For tracing, you can choose things like fabric chalk or a pen that can be easily removed. Set your sewing machine and fill in the design. For tight stitches, make adjustments accordingly. Once your patch is stitched and ready, trim it to the shape you want for a clean and professional look. Finally, the patch is ready to be used. Follow the steps to apply the patch and make sure it is securely attached to its place.
- Inkjet transfer paper technique
This method is simple and friendly for beginners as they need to transfer their artwork to the fabric and use it. Just like other methods, you need to select or design your artwork. If you want something new and different, join hands with an illustrator or graphic designer. They will help you in bringing life to your vision.
Before you send the design for printing, flip it horizontally. This will ensure that the design appears right when transferred onto the fabric. Outline your design. Use the black color so it is easily seen on the fabric. Select a size for the patch and then adjust your image size accordingly.
After you have followed these steps, print your design onto the transfer sheet with the help of an inkjet printer. Ensure that your choice of paper is high-quality for clear and crisp results. With the help of a cutter machine, trim the edges. With the help of iron, apply heat and stick the cut motif to the backing. This will help in transferring the design onto the fabric. Carefully peel off the sheet to reveal your custom patch design.
Attaching Your Iron-On Patches
The sticking of iron-on patches is a tricky job. However, by following these steps, you can nail the process.
- Choose a position for your patch. You might be using it to cover a small hole or to add beauty to your clothing.
- Using iron attach the patch with heat and pressure. For this, you need to check the fabric instructions and the patch’s heat instructions.
- Check if it is properly attached. If there are any loose ends, you can apply heat for more time.
- Check for the aftercare instructions. These will include the washing and drying instructions.
The Final Comment
No matter what the reason behind your custom patch is, iron-on patches are the perfect way to express your style.
Using the steps discussed, you can easily design your patch. Just design artwork for your patch. Select the method of designing the patch. If you have time and are doing this for a long time, then consider hand-designing. This will give a more personal look. If you are new to the designing field, then inkjet designing will work in your favour. The process is easy, but you can still get help from the experts if you wish.

