Embroidery That Sells: Crafting Patches Your Customers Will Love
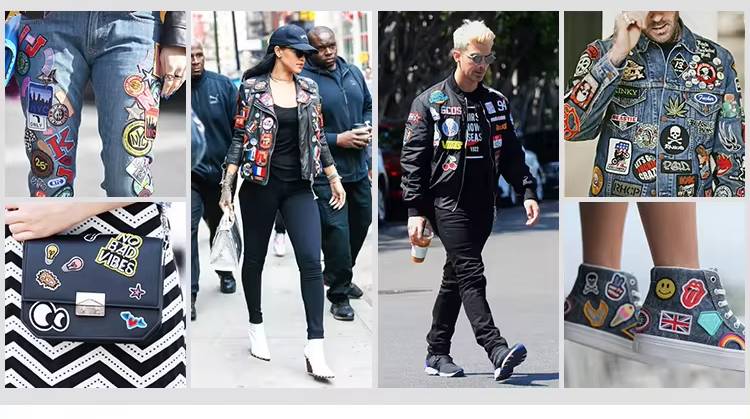
Embroidered patches are a traditional yet unique way to showcase your brand identity. They serve as a walking advertisement for your business.
From instantly capturing the attention to displaying a professional image, these pieces bring extraordinary benefits for a business.
If you are looking for something to stand out in the market, this is your best choice!
But what goes behind their creation process? How are the designs embedded in them? This blog will explore how these visually appealing pieces are crafted, answering all your questions.
What Is An Embroidery Patch?
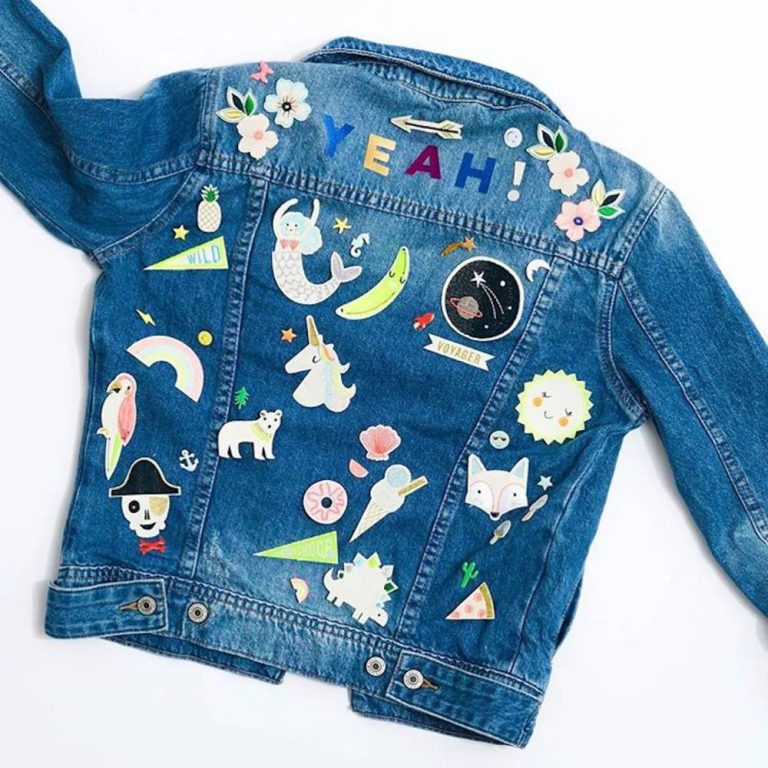
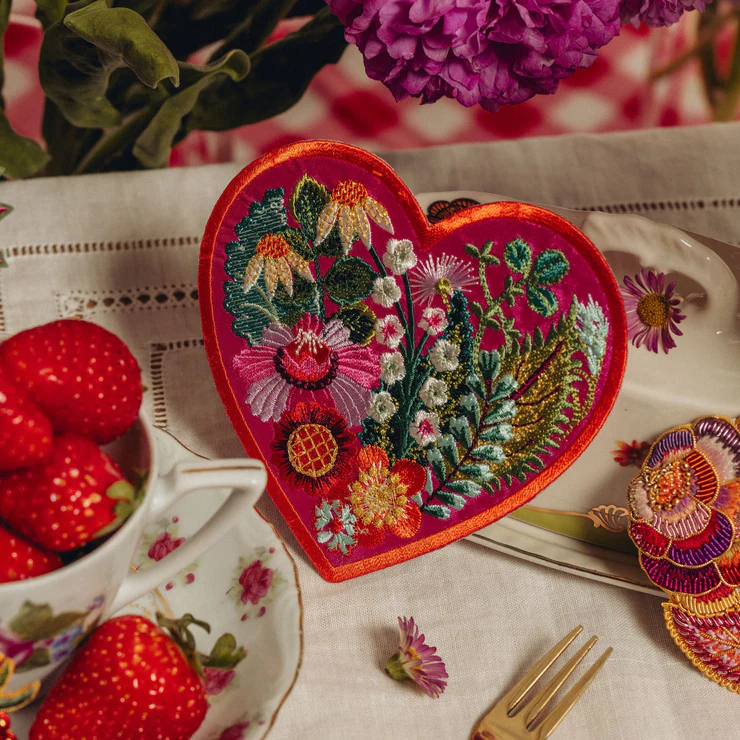
An embroidery patch is a timeless accessory used by businesses and fashion enthusiasts. This piece is precisely crafted by using high-quality threads and cutting-edge technologies. These patches are known for their flexibility.
Professional embroidered patch services carefully design the graphics and convert them onto the patch. As a result, businesses enjoy a distinct artwork that works as a cost-effective marketing tool.
Types Of Customized Embroidery Patches
Patches vary depending on their backing. These backings depend on the type of fabric they have to attach to.
Moreover, the longevity and the future use of these patches are also essential factors when considering their type.
Take a look below to determine the various types of embroidery patches.
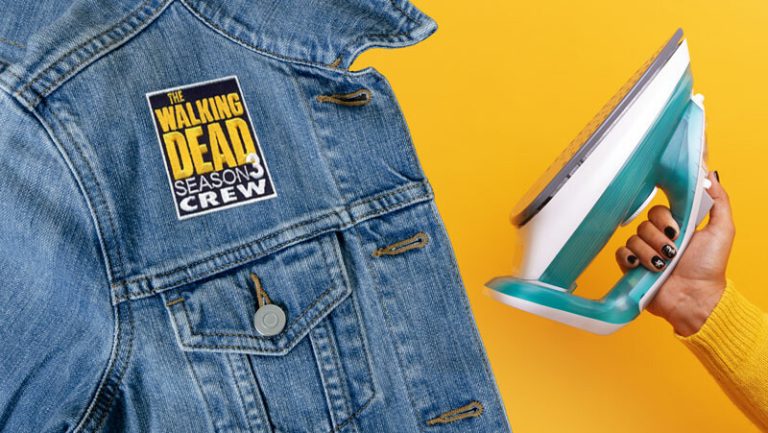
- Iron-on embroidery on patches: Iron on patches are provided with an adhesive back. These are ironed to melt the adhesive, which allows it to stick to the fabric.
- Sew-on embroidery patches: These types of patches are connected to the historical roots of patches. These patches were used traditionally by sewing them on the fabric using a thread or professional machines.
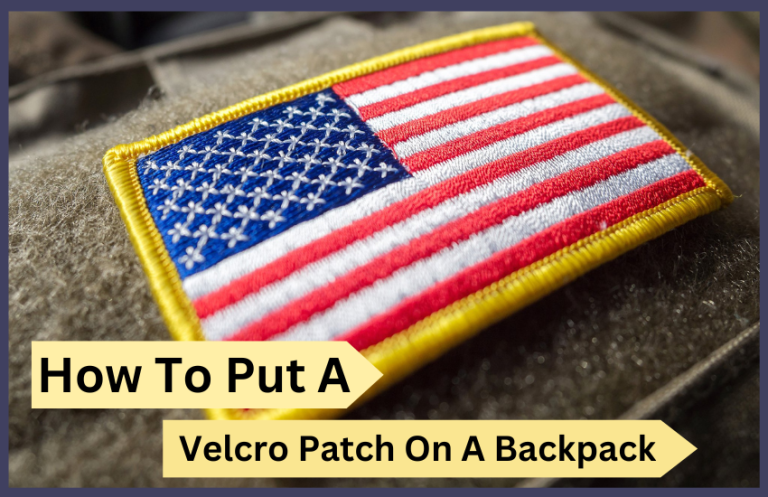
- Velcro embroidered patches: Velcro embroidered patches have a loop and hook backing. These patches can be removed and reattached without any hassle. They offer a flexible opportunity for changing looks by peeling off easily.
- Sticky embroidered patches: These are short-term patches. They are more like stickers. They act as a quick solution for all your patch needs.
However, they have a limited durability and may not work in the long run.
How To Craft An Embroidery Patch?
Crafting a custom embroidery patch is a long journey. However, with the proper techniques, you can create something that your customers will cherish forever!
1. Choosing The Materials
Take a look at this list of materials you will need to carry out a smooth process:
| Materials | Why do you need them |
| Patch fabric | A sturdy material like cotton and twill will allow the design to blend seamlessly while offering durability. |
| A pair of scissors | For clean cutting across the edges |
| Needles | Needed if you are crafting sew-on patches. |
| Thread | A top-quality thread that is known for its durability and color retention. |
| Embroidery Machine | Needed for seamless transition of designs on the patch. |
| Stabilizer | Works as a supportive tool. |
2. Designing Process
The next step comprises designing. This is the most significant step, as you need to create something that effectively conveys your brand message.
Here is all you need to do:
Begin by choosing a design software such as Adobe or Wilcom. The choice depends on your design needs. Wilcom is a preferred choice when it comes to digitizing embroidery designs, making them easy to scan on embroidery machines.
Once you decide on your software, the next step is to invest your efforts in the design process.
What you need to consider while creating a design:
- They should be clear on the embroidery.
- The details depend on the size of your patch.
- The choice of shades should have an aesthetic appeal.
- Key details such as text and logos should not be missed.
3. Deciding The Shape And Border
The shape of your patch will reflect its appearance from a distance. The commonly used shapes include:
- Circle: Best for logos and emblems.
- Oval: If you plan on going with small and custom designs.
- Rectangle: Used for name labels and as other identification marks.
- Shield Patch: Used for team-related purposes.
When it comes to the border, it should give a refined and professional look. You can choose between a satin stitch border for bold designs and a narrow border for minimal and subtle ones.
4. The Fabric And Stabilizers
The base fabric you use for your patch will affect its overall appearance and durability. Choose the right one from twill, felt, and cotton.
A stabilizer provides rigidity to your fabric while you are carrying out the embroidery process. It prevents the wrinkling while keeping your patch in shape while stitching the design.
Common types include:
- Cut away stabilizer: Offers a permanent support.
- Tear-away stabilizer: Gets easily removed after the design process.
- Adhesive Stabilizer: Sticks with the patch to prevent movement.
5. The Preparation Of Your Fabric
During this step, you need to ensure there is compatibility between your fabric and the stabilizer.
- You will begin this procedure by cutting the fabric according to the size of your patch.
- Make sure to iron it to remove any extra stretches or wrinkles.
- Join the fabric and stabilizer together to ensure that the design process turns out to be great!
6. The Embroidery Execution Process
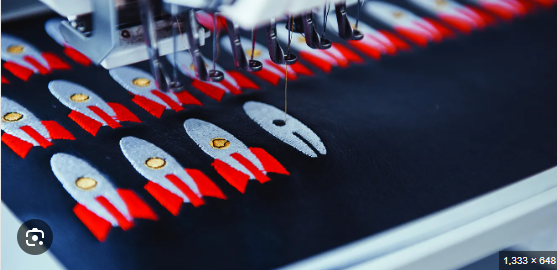
During this step, you need to set up the embroidery machine. This machine can craft even the most intricate designs with extreme precision.
- You need to begin by choosing an embroidery hoop that will offer sufficient space for your patch to sit in.
- Select an embroidery thread according to the color requirements.
- Once you are done setting up your machine, this is the time to start the design process.
- You need to monitor the process carefully and keep checks on the thread, colors, and small details such as the stitching quality.
- Once the process gets completed, you can remove your custom embroidered patch from the machine hoop!
7. Final Touches
Right after you have obtained the perfect custom embroidered patch, you need to put in some final touches. These include:
- Give a clean look by trimming the extra fabric present on the edges.
- For a professional finish, keep an eye on any loose threads.
- For the final attachment, add backing or fabric adhesives to secure the patch placement on the fabric.
Benefits Of Custom Patches
Take a look at the table below to learn about the benefits of custom embroidered patches.
| Benefit | What they bring |
| Cost Effective | An affordable choice as compared to other embroidery methods. |
| Professionalism | Expert-designed patches convey the brand message while giving a professional and sophisticated look. |
| Versatility | It can be created according to various shapes and sizes, and is a straightforward application on different types of clothing. |
| Durability | The durability factor keeps them new even after multiple washes. |
| Marketing tool | Promote businesses as a walking marketing tool. |
Wrapping Up
Custom embroidery patches continue to shine as the top and cost-effective advertising tools for a business. Whether it is for an individual seeking personalized fashion solutions or a business that wishes to stand out, a custom patch has got it covered for everyone!
Now that you know what goes behind the scenes of creating an embroidery patch, this is your reminder to invest in them! Make the most out of these versatile pieces and consider professional services for more intricate designs.

